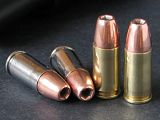
A few regulars in this forum have asked, either through PM or in
some of the threads, what is involved in handloading/reloading
ammunition.
What follows is a pictorial summary of the handloading process.
Bear in mind this is the process I use for handloading pistol
ammunition; other handloaders might have different methods,
techniques and/or equipment. Note also that the process for
handloading rifle ammunition involves a few additional steps.
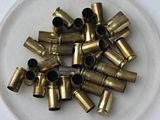
This is generally what fired brass looks like: dirty and grungy,
with carbon build-up around the case mouth. If you look carefully,
you will notice there are some 9mm and 380ACP brass mixed in with
the majority of the 40S&W cases.
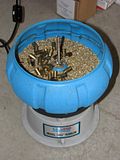
The dirty brass is thrown into a tumbler to be cleaned. The bowl of
the tumbler contains cleaning media (in this case, crushed corn cob
impregnated with kerosene). When the tumbler is switched on, a
motor vigorously vibrates the bowl and its contents, causing the
corn cob to rub against the brass and "scrub" it clean.
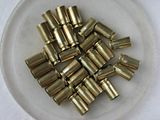
This is what the brass looks like after a couple of hours in the
tumbler. I've removed the non-40S&W brass.
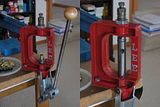
The case is placed on the shellholder atop the ram of the reloading
press and pushed into the bottom of the resizing die screwed into
the top of the press. This resizes the case; at the same time, a
pin inside the die punches out ('decaps') the spent primer at the
bottom of the case.
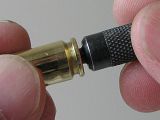
The decapping process removes the old primer, but doesn't clean out
the primer residue from the primer pocket of the case. Though not
really necessary, I like to clean out the primer pocket to prevent
the residue from possibly contaminating the powder. It's an extra
step that doesn't take up too much extra time.
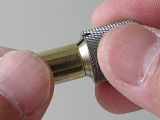
The inside neck of each case is then deburred with a chamfer tool
pressed against the case mouth and twisted a few times. This allows
the projectile to seat more easily.
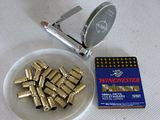
The empty cases are them primed. I prefer to use a handheld priming
tool for this step.
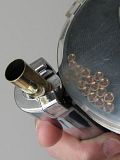
The handheld priming tool in action. An unprimed case is placed on
the shellholder and a single primer from the tray is pushed into
the primer pocket when the lever is pressed.
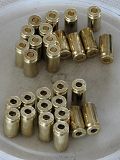
The cases at the top are all primed and ready to be charged with
powder. The ones at the bottom have yet to be primed.
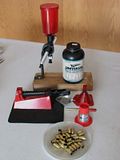
This is the equipment I use to charge the cases with powder.
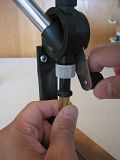
The powder dispenser is loaded with powder and adjusted to drop the
desired amount of powder into the case with each crank of the
handle.
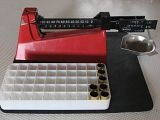
Gunpowder is not always of a uniform density, and the slight
variations thereof can cause the charge weight to drift gradually
during a single charging session. A weighing scale, like the one
pictured here, is used to confirm that the powder dispenser is
throwing the correct charge with each crank. I typically
check-weigh every tenth charge dropped by the powder dispenser; in
the image, the scale shows a charge weight of 5.4 grains, which is
exactly what I want from the powder dispenser.
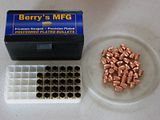
The cases have been charged and are now ready to have the
projectiles seated into them.
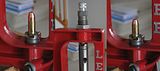
With a bullet seating/crimping die screwed into the press, a
charged case with a projectile placed loosely atop it is placed on
the shellholder and then carefully pushed into the bottom of the
die. The projectile is pressed into the case to a preset depth. In
addition, at the top of the stroke, after the projectile is fully
seated, the case mouth is pressed lightly into the jacket of the
projectile to help retain the projectile and prevent it from
sliding farther into the case when the cartridge is forcibly fed
from the magazine into the chamber of the pistol.
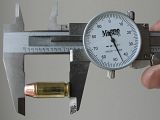
The length of each completed cartidge is measured to ensure that it
is within specs. If a projectile is accidentally or otherwise
seated too deep, it reduces the amount of volume in the case for
the powder, and when the powder ignites, it will have less room to
combust, driving pressures beyond safe levels and possibly causing
the cartridge to rupture in the barrel chamber. When this happens,
the pistol is almost always damaged or destroyed, with the
possibility of serious injury to the shooter.
In this image, the overall length of the cartridge measures exactly
1.145", which is what my recipe calls for.
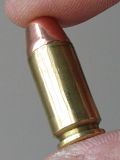
Voilà! A precision
handloaded and customized 40S&W cartridge which costs less than
and will handily outperform even the most expensive commercially
loaded 40S&W ammo!